

According to the official documentation :
Cloud Functions is Google Cloud’s event-driven serverless compute platform. Run your code locally or in the cloud without having to provision servers. Go from code to deploy with continuous delivery and monitoring tools. Cloud Functions scales up or down, so you pay only for compute resources you use. Easily create end-to-end complex development scenarios by connecting with existing Google Cloud or third-party services.
Cloud Functions allows you to run backend code without managing servers, all you need to do is write your code and deploy. It is built on Google infrastructure and scales automatically. Cloud functions are event-driven i.e they are usually triggered in response to events. Events in this case includes (but not limited to):
- an HTTP Request
- a change in our database
- uploading a file to our Cloud storage
- when a Google Cloud Pub/Sub message is sent to a specified topic
- a cron job
Cloud Functions can be setup via Firebase or Google Cloud Platform (GCP). In simpler terms, a Firebase project is a GCP project except that Firebase is tailored towards mobile/web application development and contains fewer number of services out-of-box as opposed to GCP, although those services can be later enabled when needed, you can also add Firebase to an existing GCP project.

You can read more about the relationship between GCP and Firebase here. In this series we're going to explore both options, starting with Firebase. We'll be writing our Cloud functions using NodeJS and *Typescript.
TypeScript is a typed superset of JavaScript that compiles to plain JavaScript. It brings you optional static type-checking along with the latest ECMAScript features. It helps you catch errors in your code at compile-time, and it delivers a better developer experience overall. There are a lot of good reasons to use TypeScript. Still not convinced?, check out the following articles.
I'm assuming you have nodejs and npm setup on your machine.
Install Typescript
We need to install Typescript globally on our machine so we can use the tsc command from any open terminal.
npm install -g typescript
After the installation completes, you should be able to use the tsc command from your terminal.
➜  ~ tsc
Version 3.9.2
Syntax:   tsc [options] [file...]

Examples: tsc hello.ts
          tsc --outFile file.js file.ts
          tsc @args.txt
          tsc --build tsconfig.json
If your terminal outputs something similar to the above, you've successfully installed Typescript.
If you're on a mac or linux OS you might want to append
sudoto all yournpmcommands incase you get permission errors.
Setting up Cloud Functions for Firebase
Setup the Firebase Tools CLI(command line interface)
Open your terminal and install the firebase tool globally
npm install -g firebase-tools
After the installation completes, you should be able to use the firebase command from your terminal.
➜  ~ firebase
Usage: firebase [options] [command]

Options:
  -V, --version                                   output the version number
  -P, --project <alias_or_project_id>             the Firebase project to use for this command
  -j, --json                                      output JSON instead of text, also triggers non-interactive mode
  --token <token>                                 supply an auth token for this command
  --non-interactive                               error out of the command instead of waiting for prompts
  --interactive                                   force interactive shell treatment even when not detected
  --debug                                         print verbose debug output and keep a debug log file
  -h, --help                                      output usage information
If your terminal outputs something similar to the above, you've successfully installed firebase. :)
Creating the Firebase project
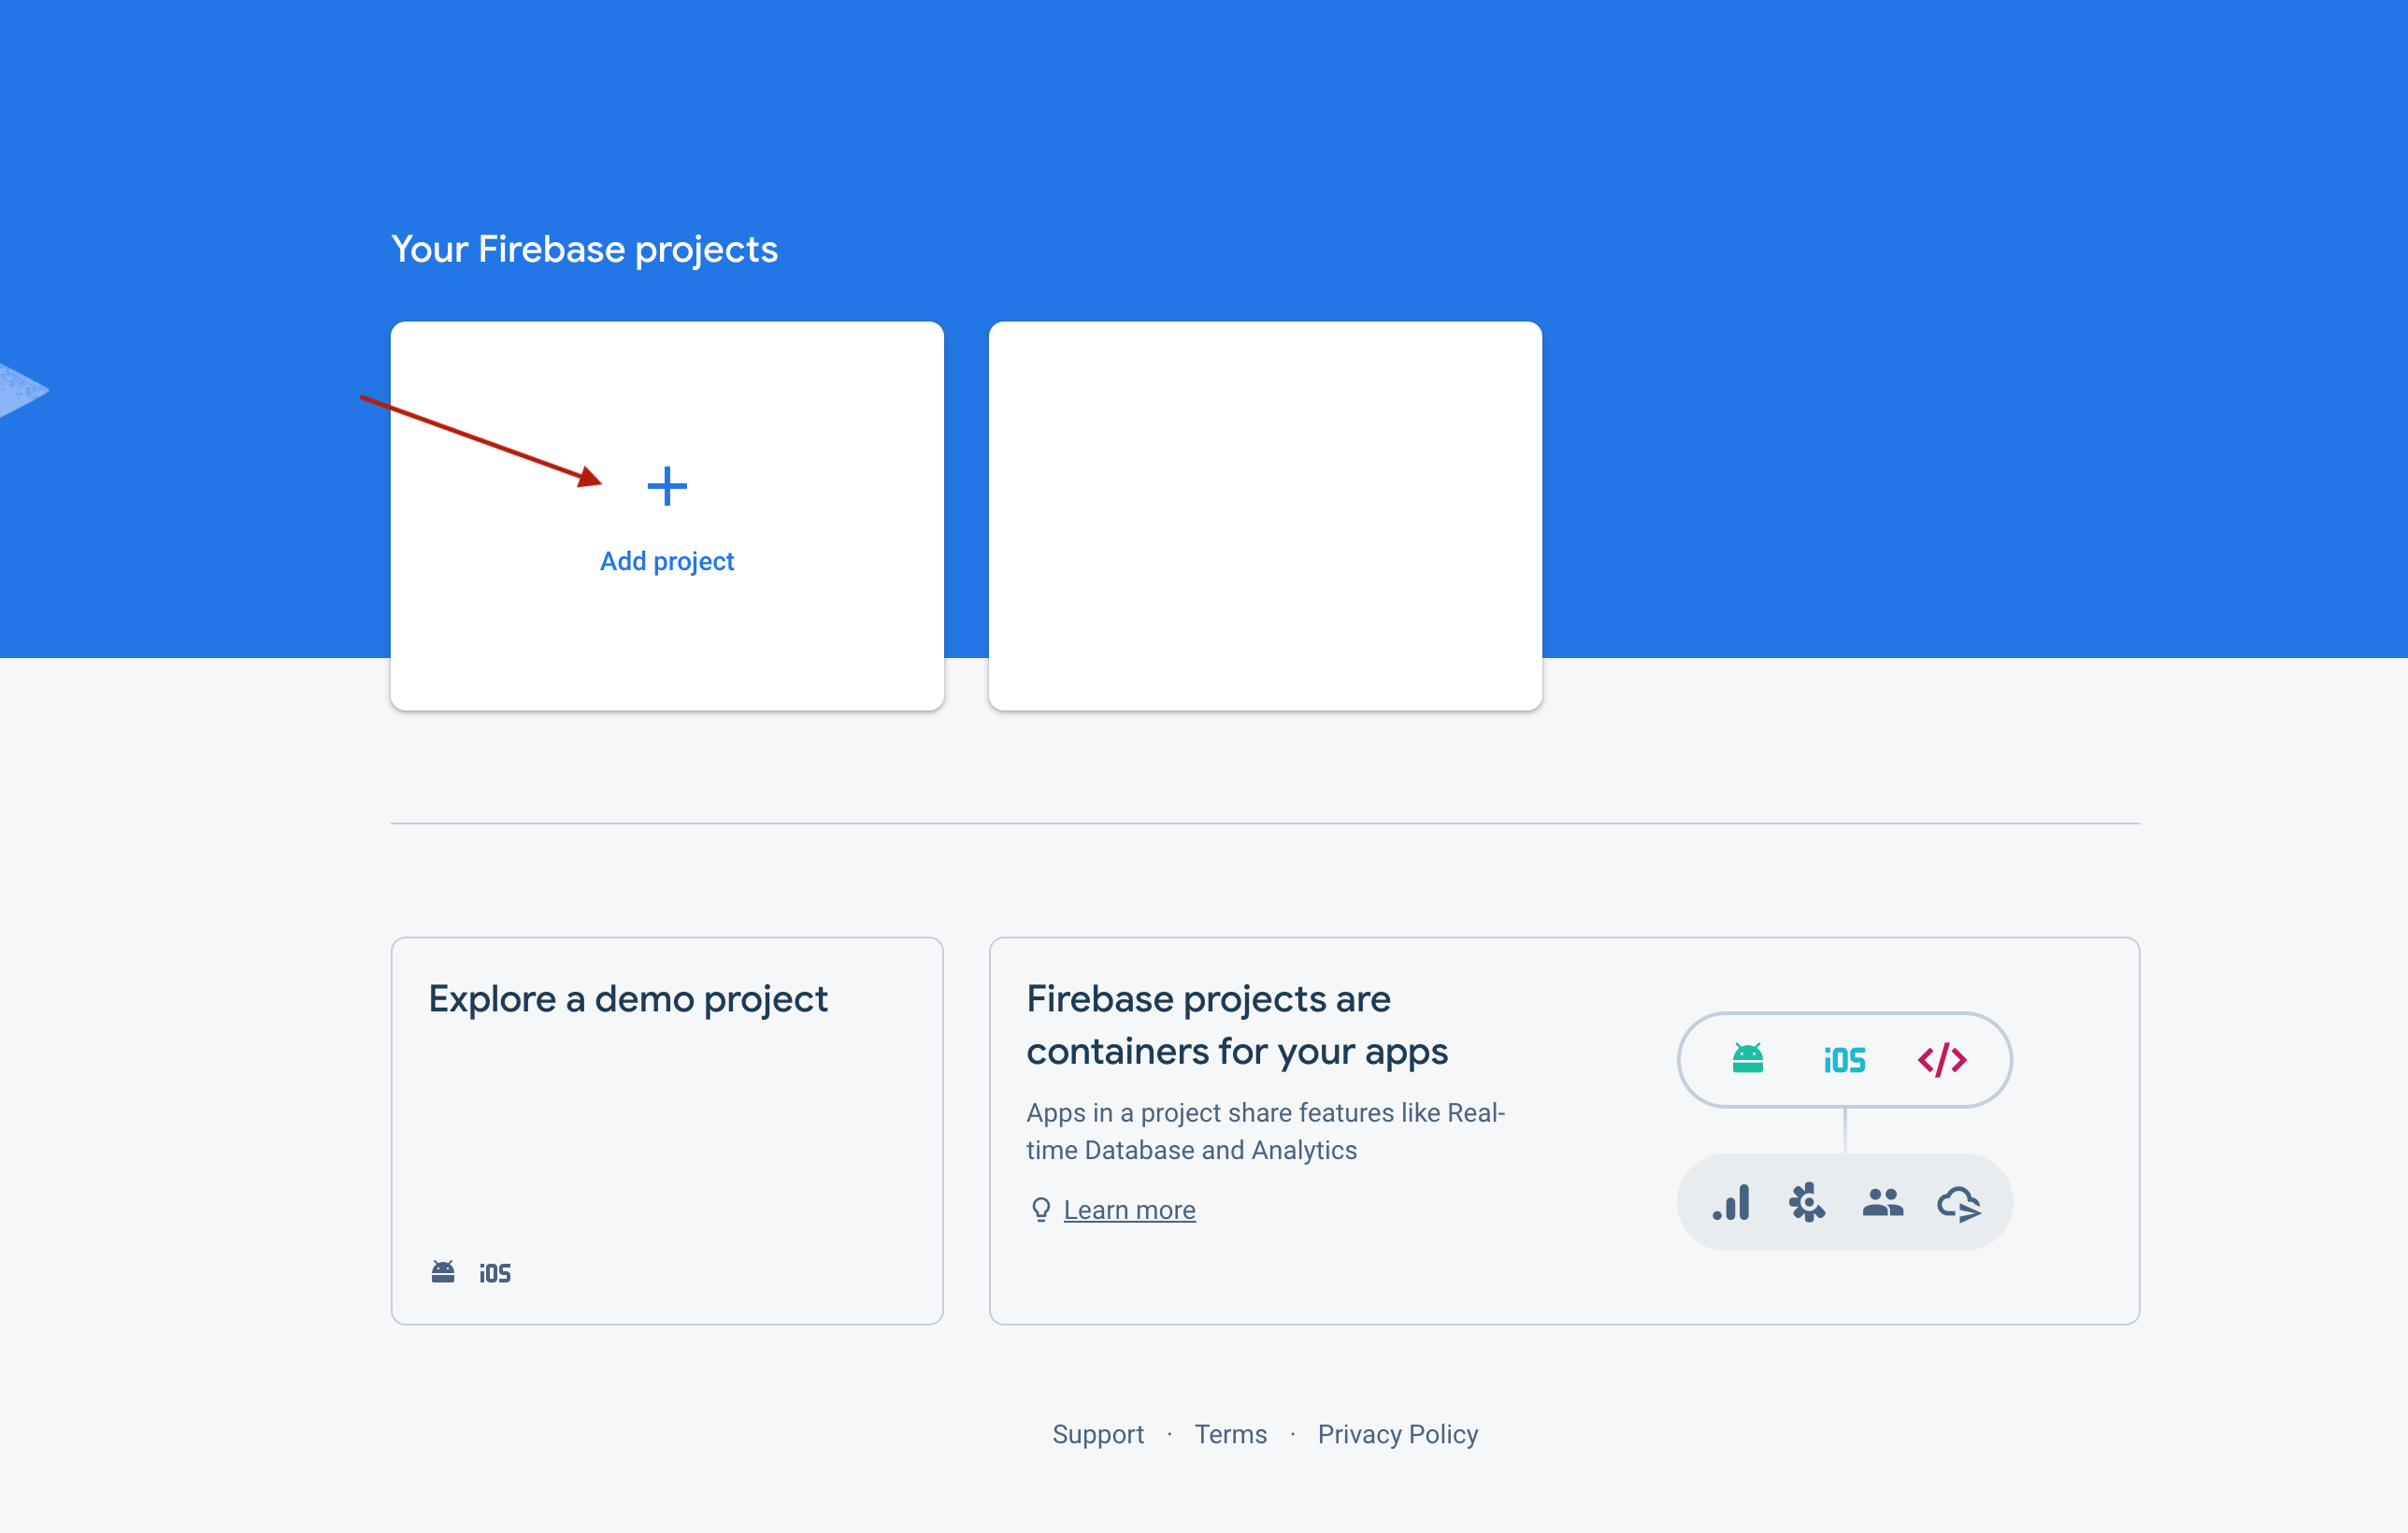
Head over to the Firebase console and select the "Add Project" option.
Enter a project name(feel free to name your project anything) and click the "Continue" button.
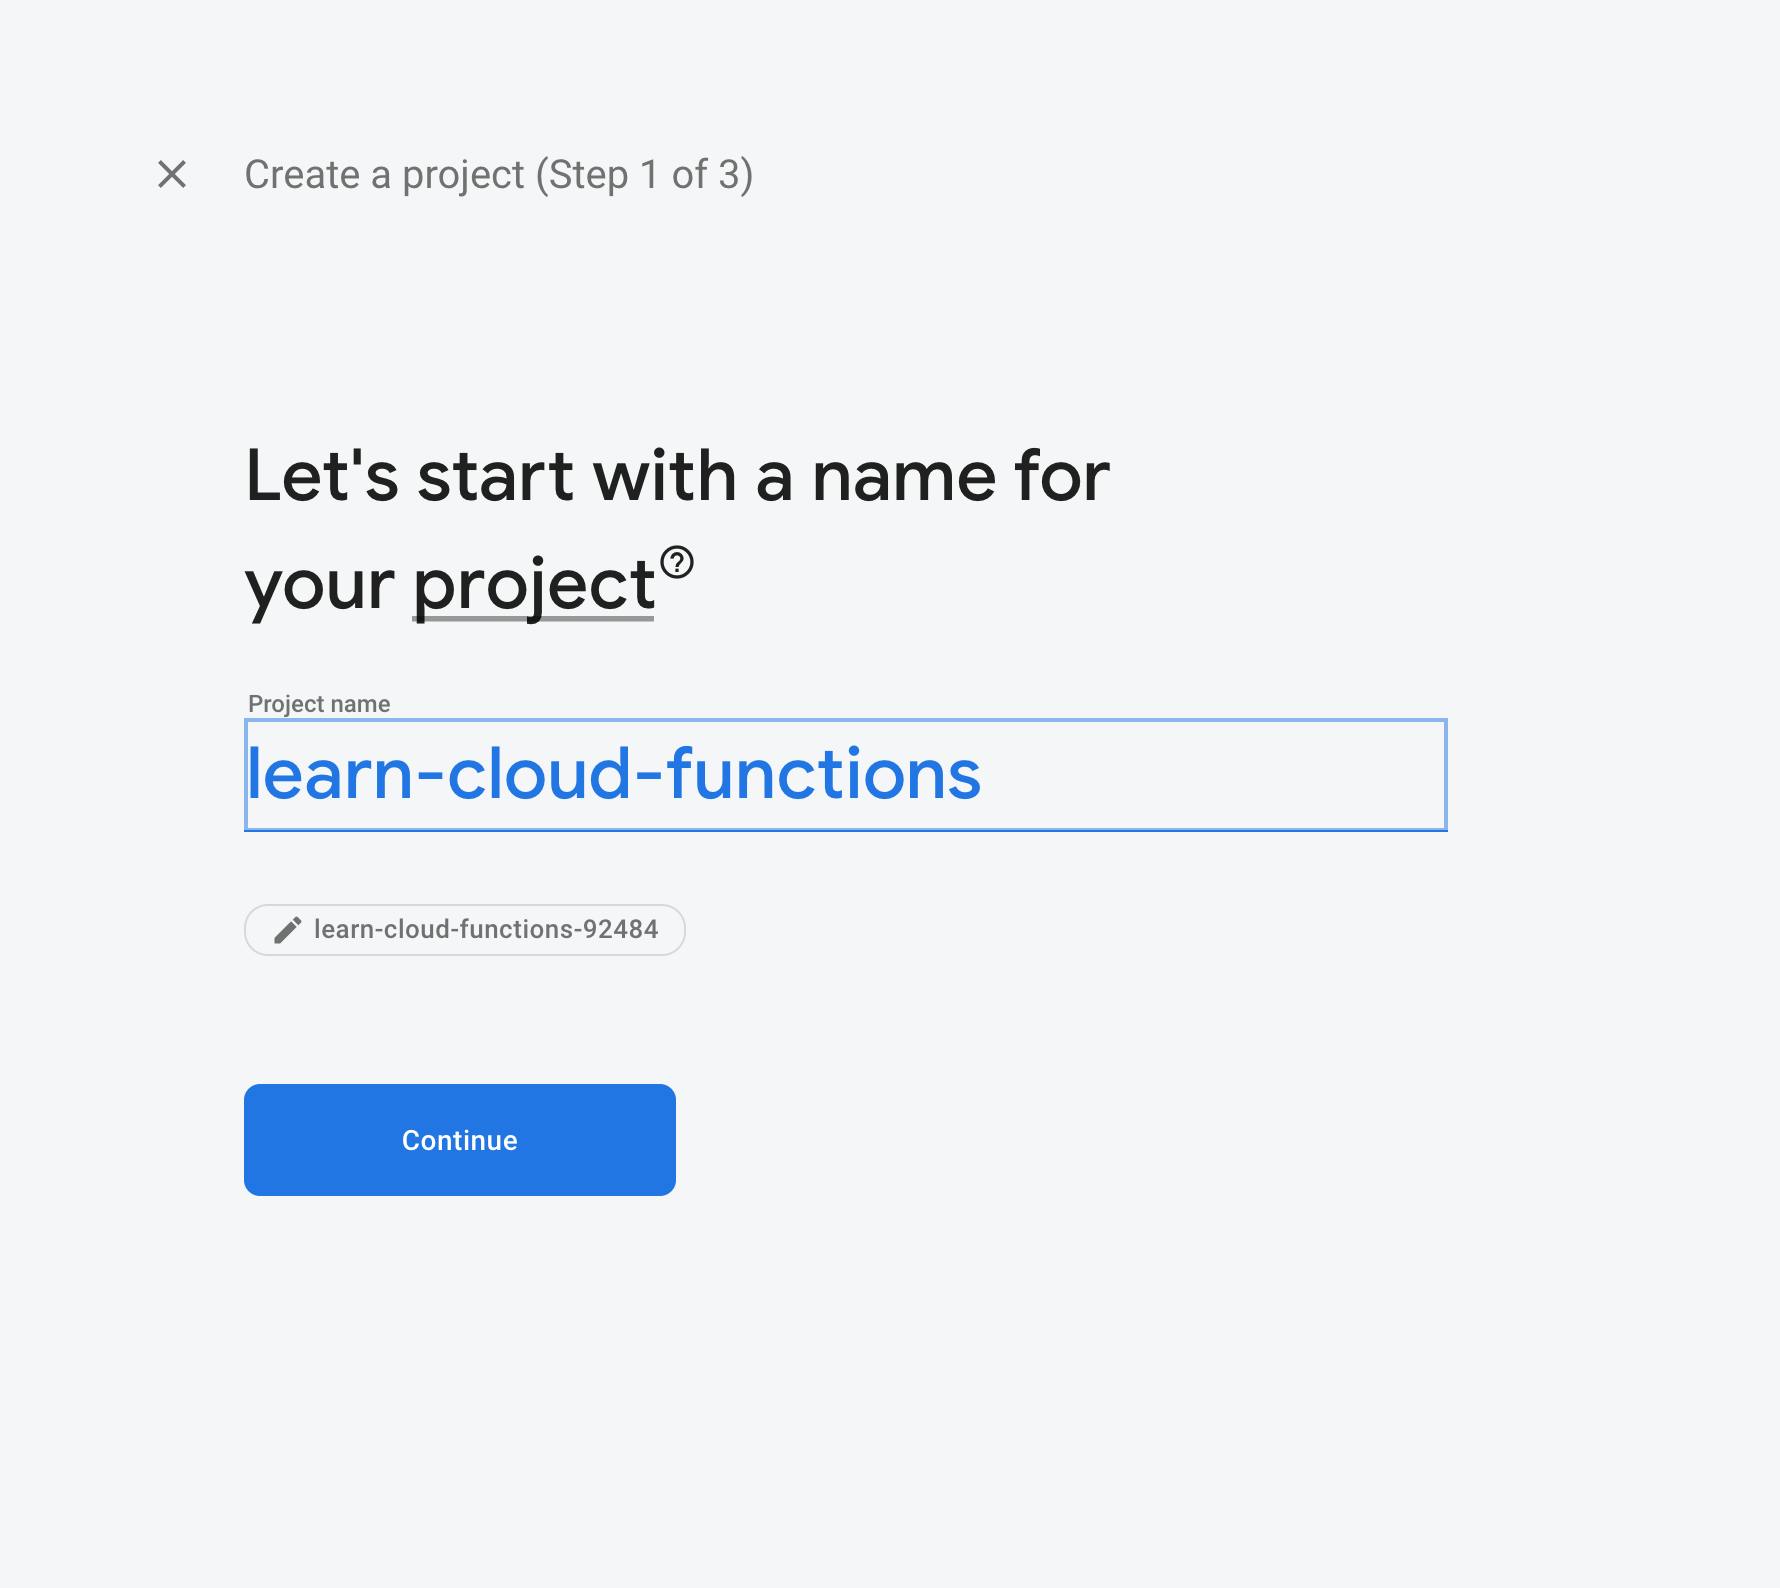
Click "Continue"
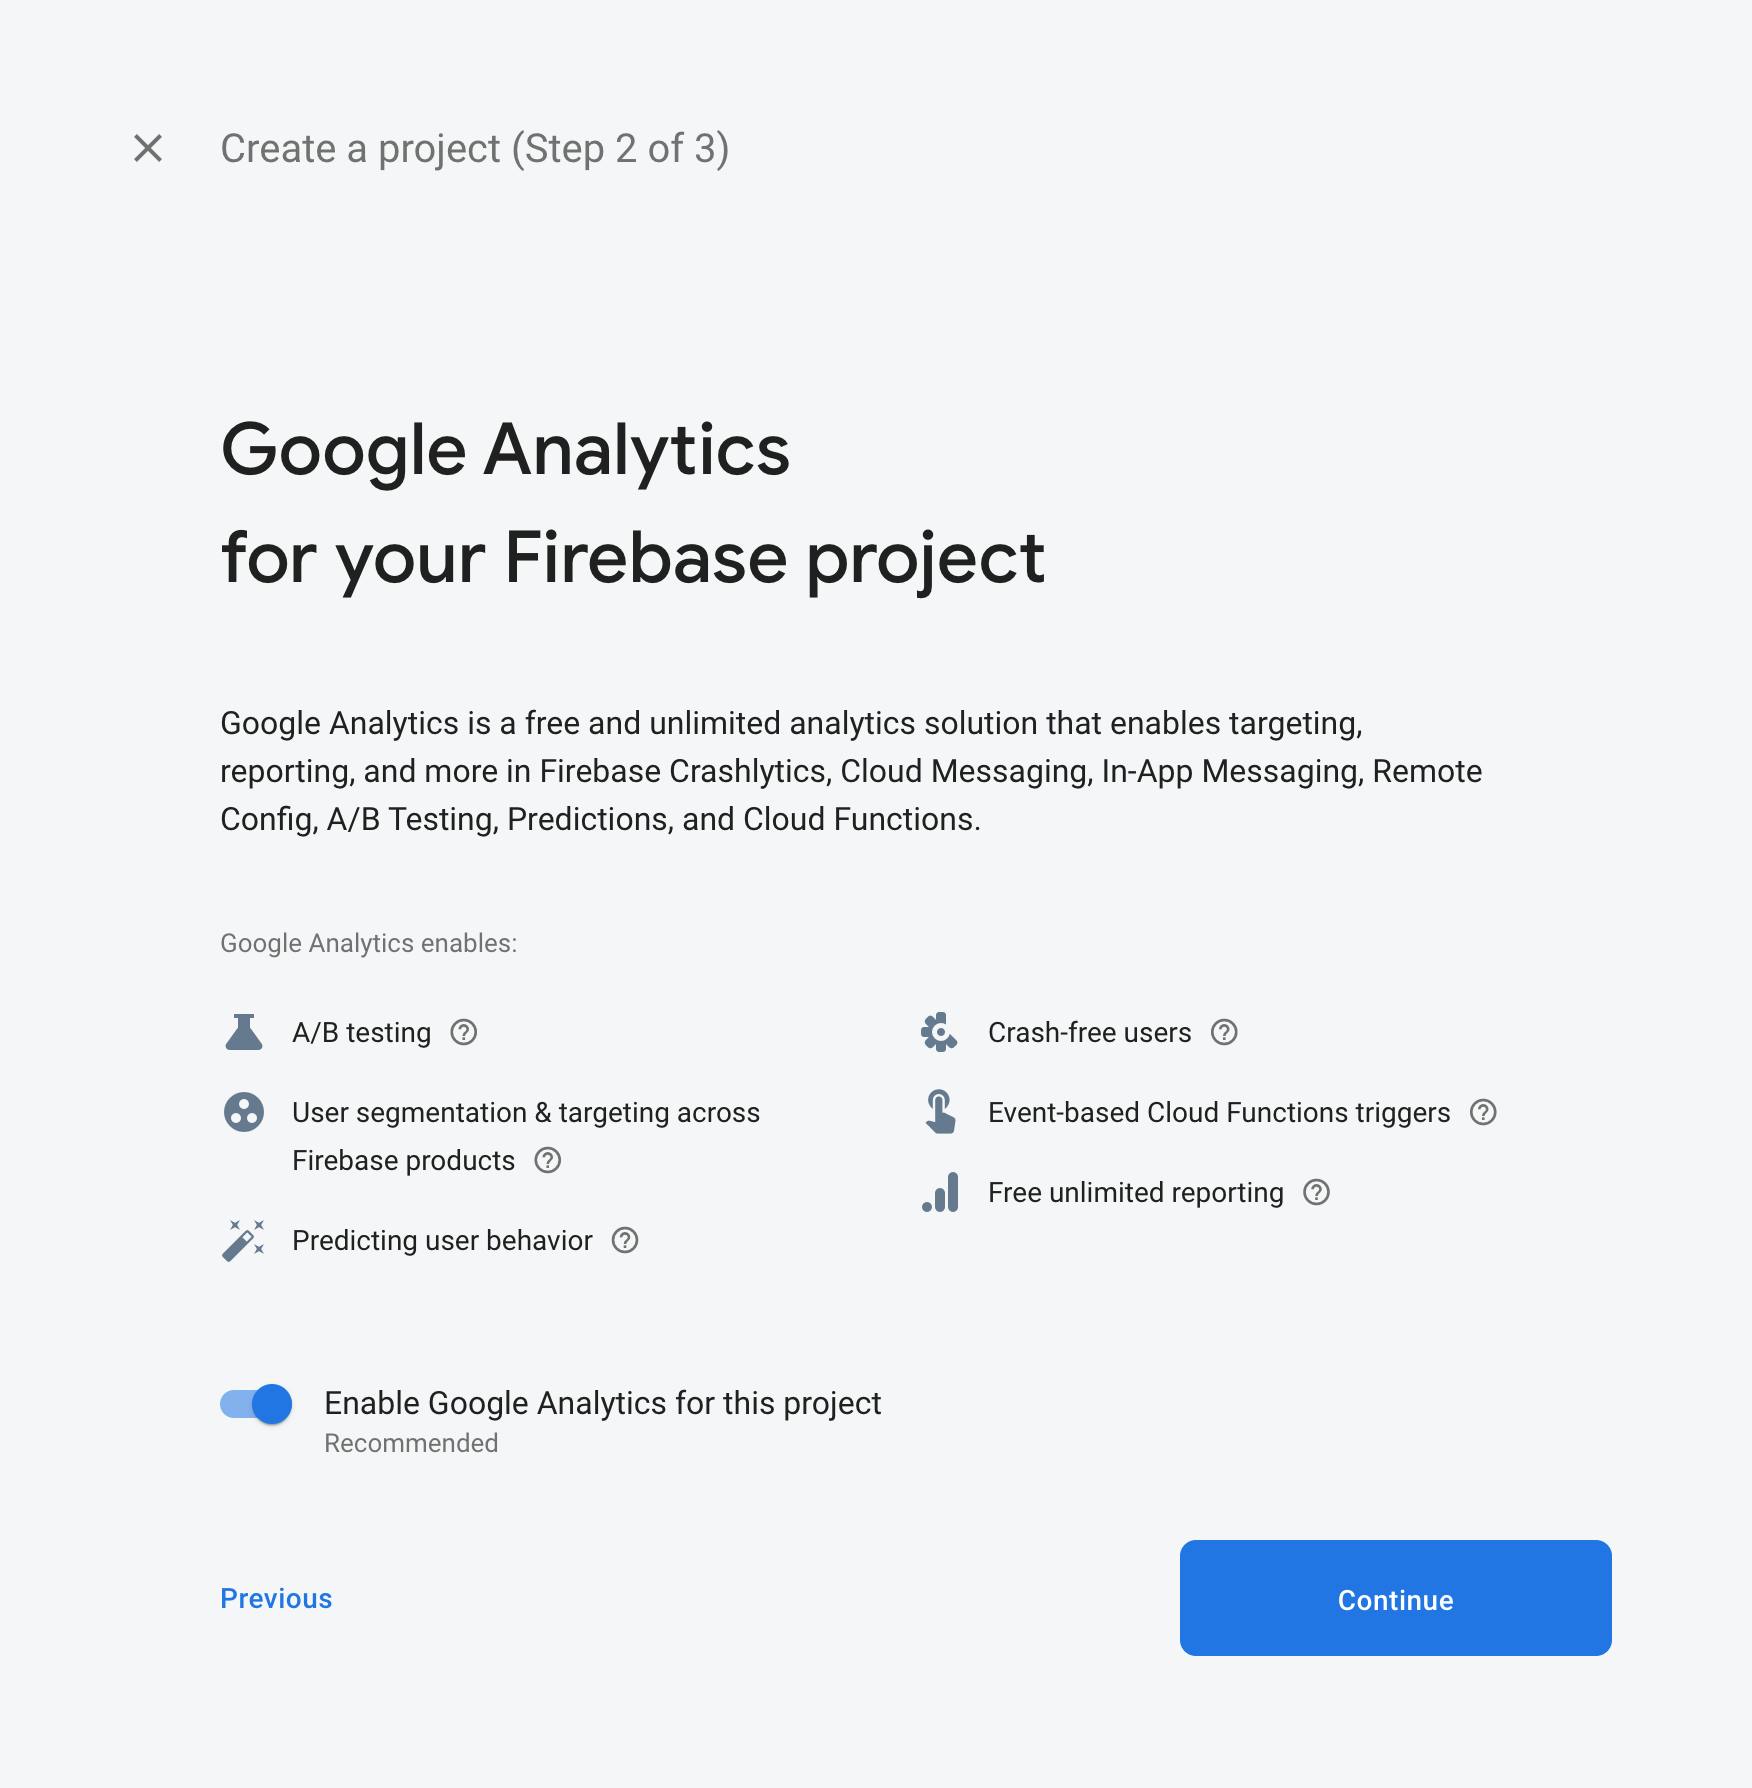
Select the "Default Account for Firebase" option then click the "Create Project" button.
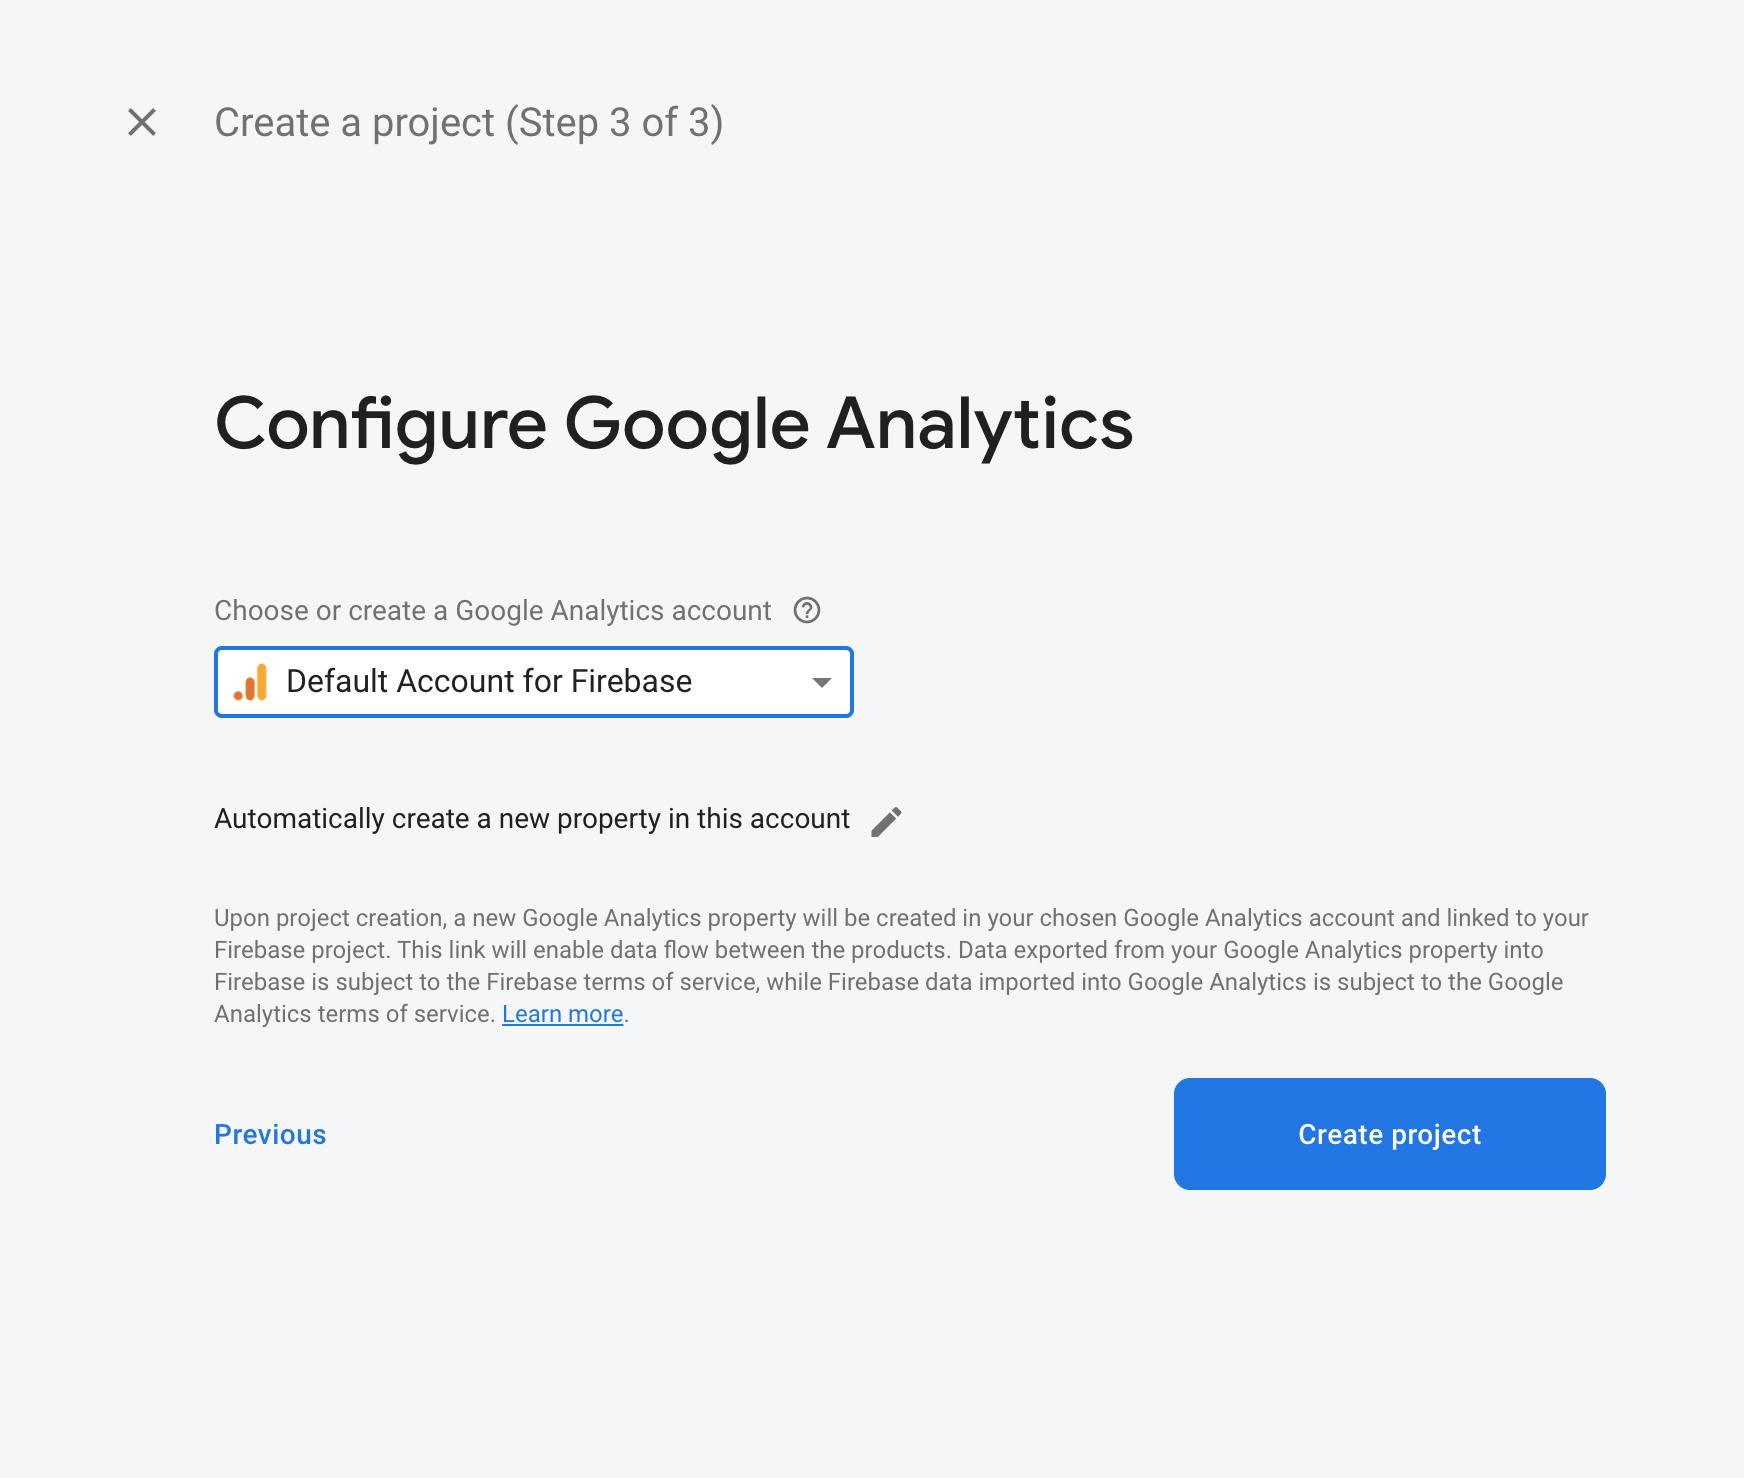
If all goes well you should see something similar to the screenshot below:
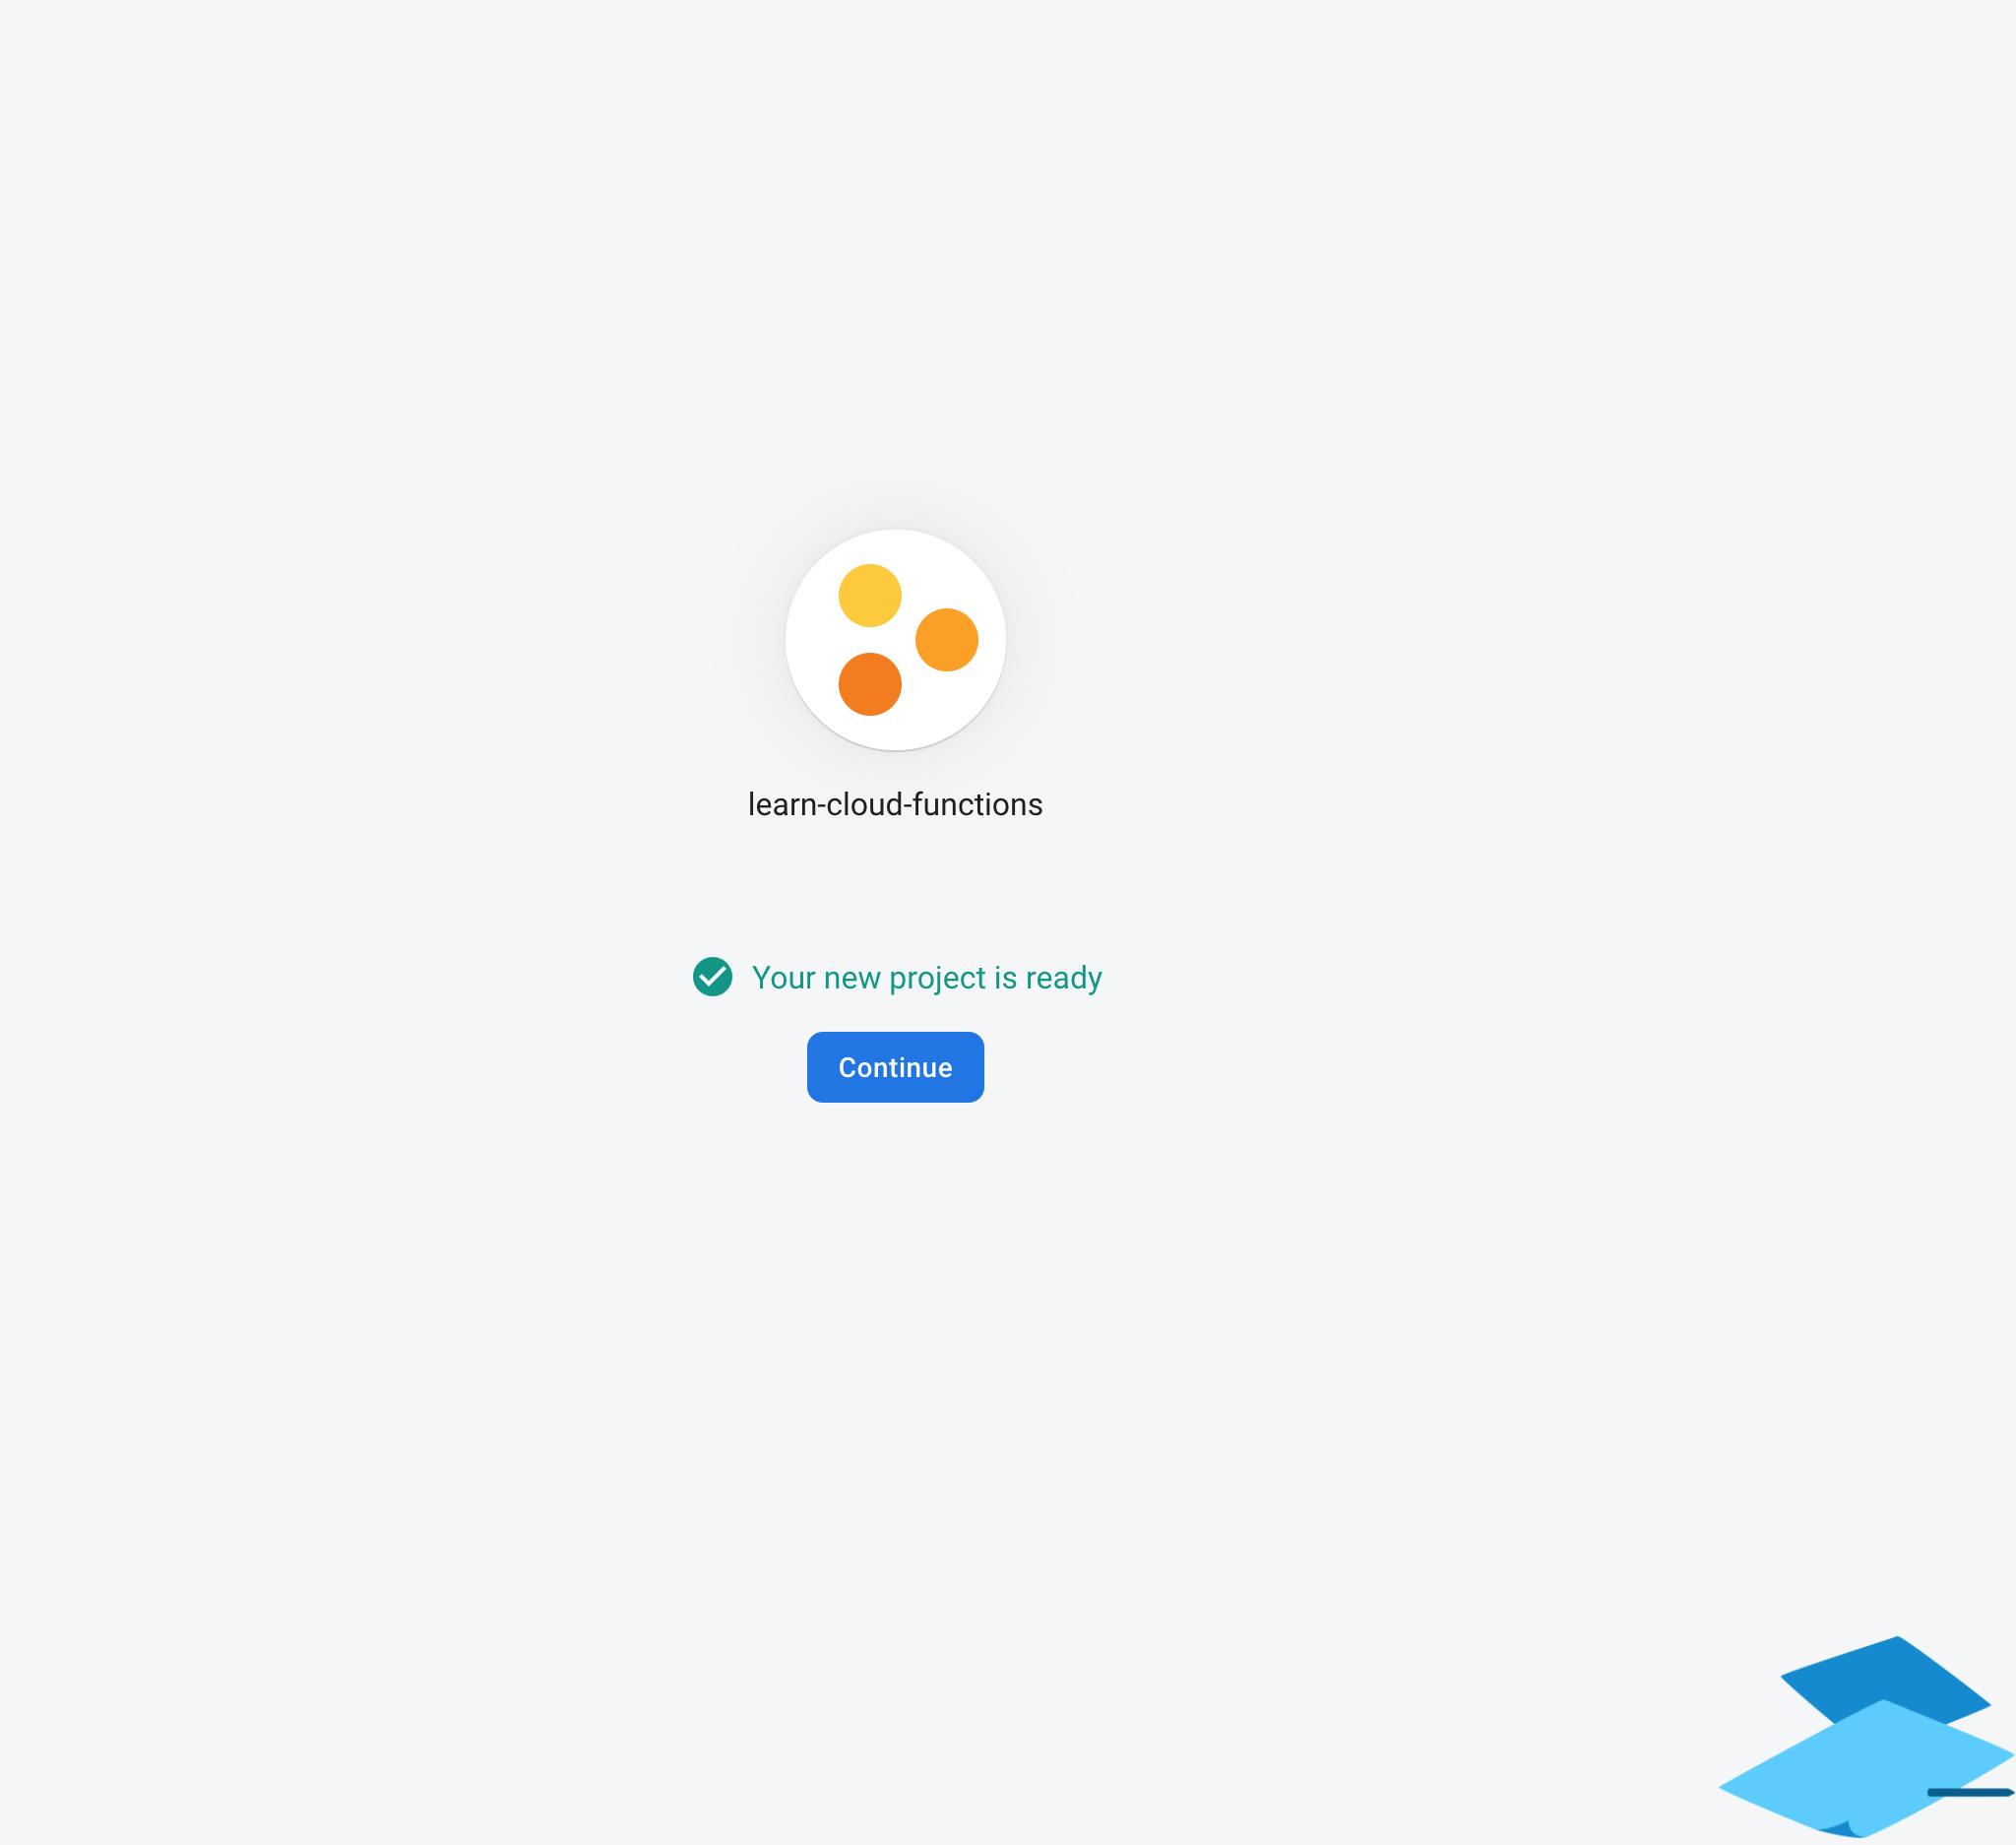
Then click the "continue" button to go the dashboard.
Now we need to grant the firebase-tools cli access to our project. In your terminal run the
firebase login
command, this should open a new browser window where you can select the google account related to the firebase project you want to authorize firebase-tools cli for. If you are already logged in via a different google account, you need to switch to the account with which you created the project, use the
firebase logout
command to log out, then run the login command again. After a successful login, create a new folder for your project, open your terminal and navigate to that folder, run the firebase init command
➜  learn-cloud-functions firebase init

     ######## #### ########  ######## ########     ###     ######  ########
     ##        ##  ##     ## ##       ##     ##  ##   ##  ##       ##
     ######    ##  ########  ######   ########  #########  ######  ######
     ##        ##  ##    ##  ##       ##     ## ##     ##       ## ##
     ##       #### ##     ## ######## ########  ##     ##  ######  ########

You're about to initialize a Firebase project in this directory:

  /Users/user/Desktop/articles/learn-cloud-functions

? Which Firebase CLI features do you want to set up for this folder? Press Space to select features, then Enter to confirm your choices. (Press <space> to select)
 ◯ Database: Deploy Firebase Realtime Database Rules
 ◯ Firestore: Deploy rules and create indexes for Firestore
❯◯ Functions: Configure and deploy Cloud Functions
 ◯ Hosting: Configure and deploy Firebase Hosting sites
 ◯ Storage: Deploy Cloud Storage security rules
Select the Functions: Configure and deploy Cloud Functions then press Enter.
The firebase cli then lists all the projects associated with your current google account.
=== Project Setup

First, let's associate this project directory with a Firebase project.
You can create multiple project aliases by running firebase use --add,
but for now we'll just set up a default project.

? Select a default Firebase project for this directory:
  [don't setup a default project]
❯ learn-cloud-functions-92484 (learn-cloud-functions)
  [create a new project]
Select the name of the project you created earlier on the firebase web console then press "Enter"
i  Using project learn-cloud-functions-92484 (learn-cloud-functions)

=== Functions Setup

A functions directory will be created in your project with a Node.js
package pre-configured. Functions can be deployed with firebase deploy.

? What language would you like to use to write Cloud Functions?
   JavaScript
❯ TypeScript
For the purpose of this tutorial series, we'll be going with Typescript.
Select TypeScript in the language option, do not enforce style with TSLint and install dependencies.
? What language would you like to use to write Cloud Functions? TypeScript
? Do you want to use TSLint to catch probable bugs and enforce style? No
✔  Wrote functions/package.json
✔  Wrote functions/tsconfig.json
✔  Wrote functions/src/index.ts
✔  Wrote functions/.gitignore
? Do you want to install dependencies with npm now? Yes
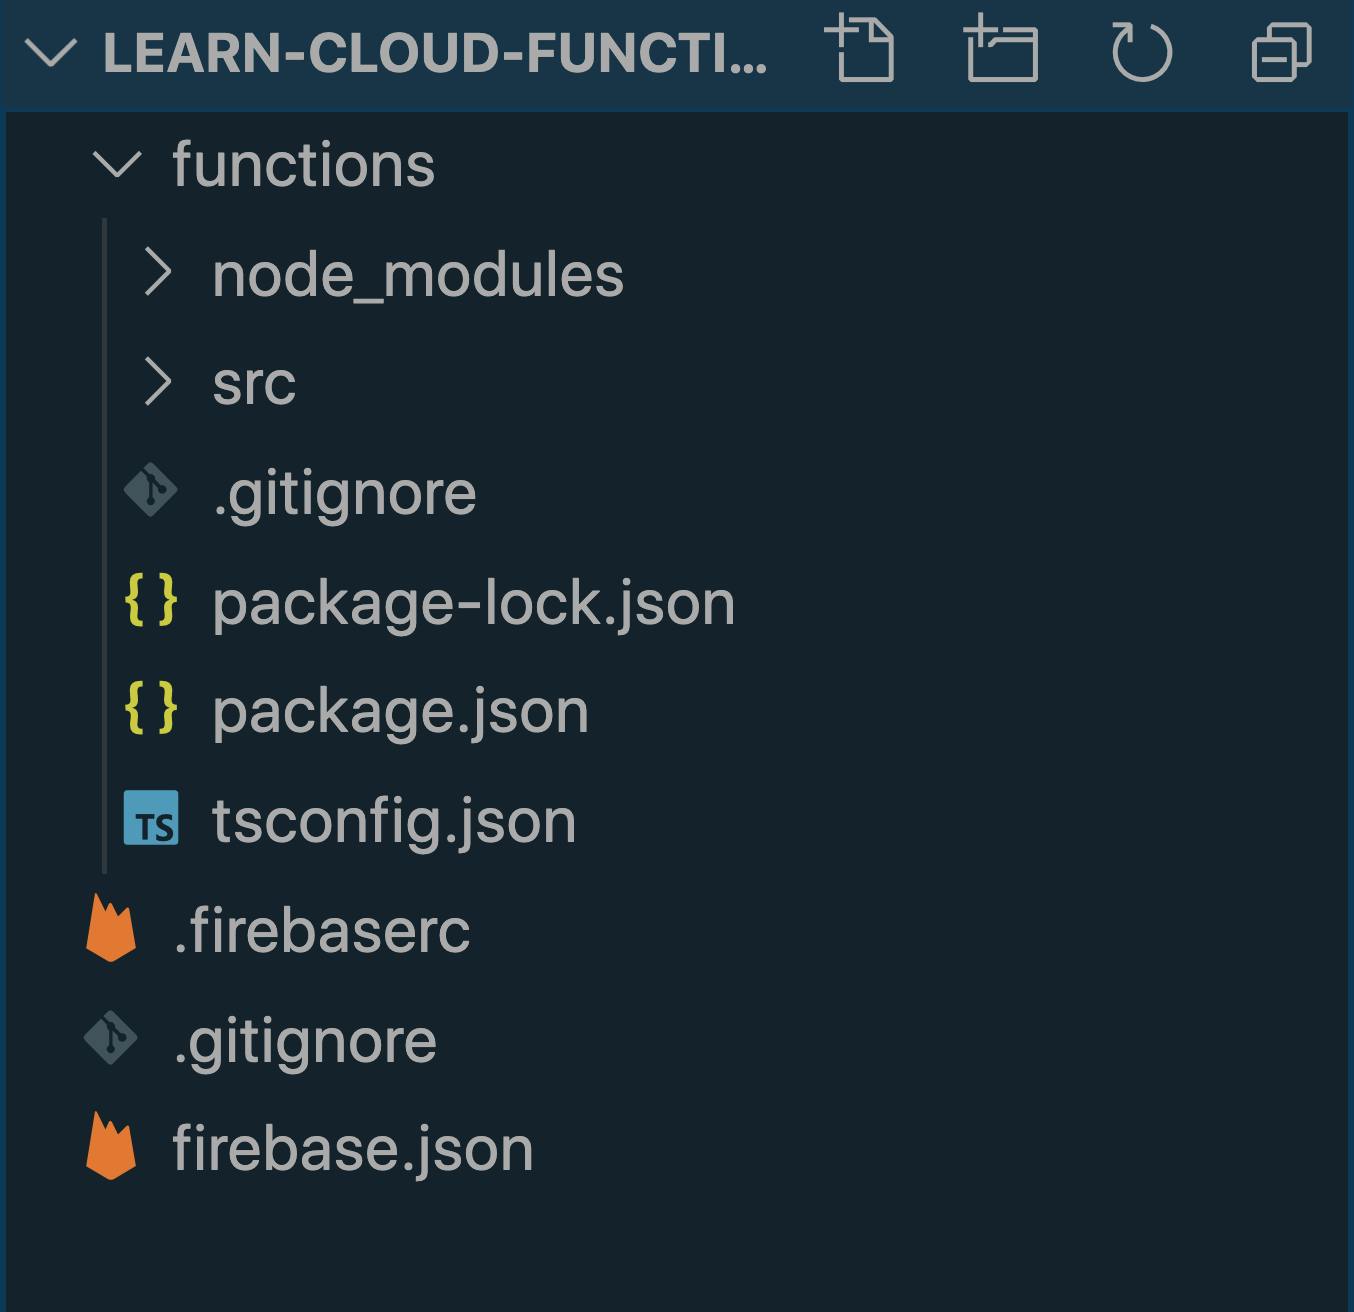
Open the project with your favorite IDE, your folder structure should look something like the image below.
The generated boilerplate uses an older version of firebase-functions and firebase-admin, so we need to upgrade to the latest versions, navigate to the functions directory from the terminal , then run the command below.
npm install firebase-functions@latest firebase-admin@latest --save
For example:
➜  learn-cloud-functions cd functions
➜  functions npm install firebase-functions@latest firebase-admin@latest --save
Now we can start writing code, for faster development purposes we will run and test the functions locally, then deploy when we're done.
Open the index.ts file in the functions/src directory, delete the contents of that file, copy and paste the code snippet below.
import * as functions from 'firebase-functions';

// Start writing Firebase Functions
// https://firebase.google.com/docs/functions/typescript

export const helloWorld = functions.https.onRequest((request, response) => {
 response.send("Hello from Firebase!");
});
In the scripts section of the package.json file,
{
  "name": "functions",
  "scripts": {
    "build": "tsc",
    "serve": "npm run build && firebase serve --only functions",
    "shell": "npm run build && firebase functions:shell",
    "start": "npm run shell",
    "deploy": "firebase deploy --only functions",
    "logs": "firebase functions:log"
  },
  "engines": {
    "node": "8"
  },
  "main": "lib/index.js",
  "dependencies": {
    "firebase-admin": "^8.12.1",
    "firebase-functions": "^3.6.1"
  },
  "devDependencies": {
    "typescript": "^3.2.2"
  },
  "private": true
}
The serve script builds the project from TS to JS and serves it locally. To run the functions locally, run the command below in the functions directory.
npm run serve
To ensure a frictionless setup, the node version you're using to execute cloud functions in the cli or terminal should match the one defined in the
enginessection of the package.json. It is recommended to setupnvm(github.com/nvm-sh/nvm) for easy installation and switching between multiple versions of node.js. Cloud functions(as at the time of writing this article) supports node 8(version 8.15.0) and node 10(version 10.18.1) runtimes
Running npm run serve should output the below
➜  functions npm run serve

> functions@ serve <the_source_code_path_on_your_machine>
> npm run build && firebase serve --only functions


> functions@ build <the_source_code_path_on_your_machine>
> tsc


=== Serving from <the_source_code_path_on_your_machine>...

i  functions: Preparing to emulate functions.
✔  functions: helloWorld: http://localhost:5000/<your_firebase_project_id>/us-central1/helloWorld
Copy the link that shows up in your terminal, and paste in it a browser window, hit the "Enter" key and watch the magic happen.
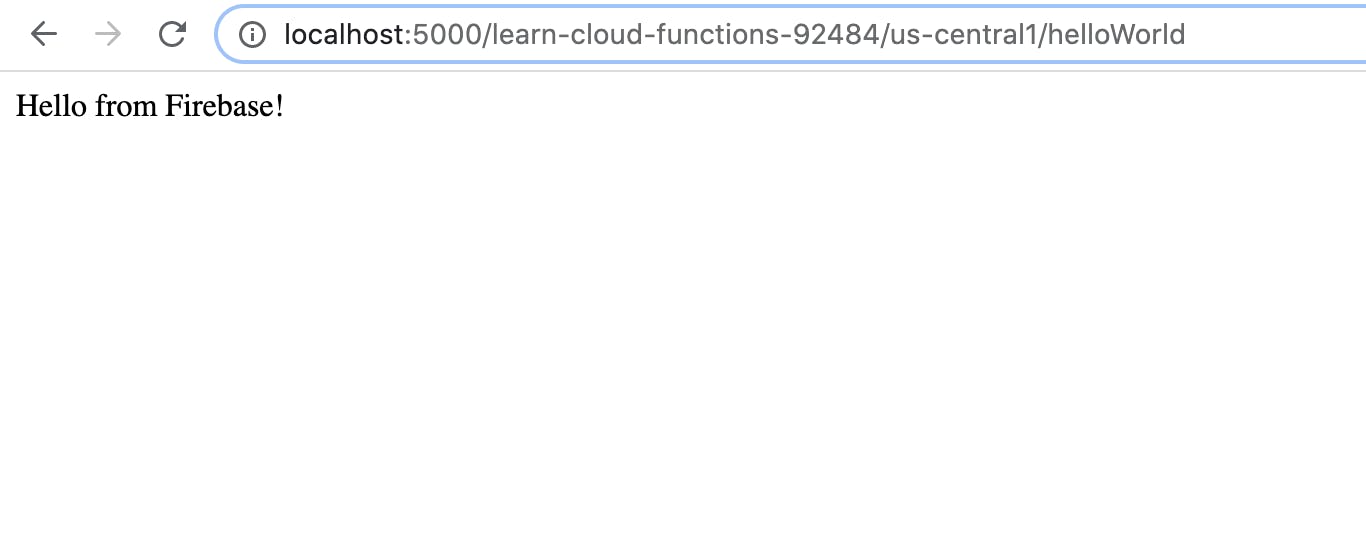
Congratulations 🎉, You have written your first Cloud Function.
In this example, we've setup a cloud function that responds to HTTP events.
In Part 2, we will be adding a fully functional REST API to our current setup with the express web framework and Cloud Firestore as the database.
This is the link to the source code on Github. The linked source code reflects the state of the repository as at this point in the series.
If you have any question or comment, please let me know in the comments section.
References: Firebase Documentation