In the previous article, We were able to setup a fully functional API. In this tutorial we will setting up Cloud functions for database triggers.
Cloud functions can be run when database operations such as read, write, update or delete occurs. We can write code to run in response to those events. One of the major benefits of this is — it makes it easier to shed off less important work from our main server.
For example, when a user signs up on our website and we need to run analytics based on the new information we just collected.
app.post("/users", (request, response)=>{

// 1. Save user to the database
const userProfile = await saveUserInformationToDatabase();

// 2. Run analytics based on user information e.g request IP, location etc
await runAnalytics();

//3. Send back the newly created user's profile information
response.send(userProfile)

})
Looking at the order of operations above, step 2 is a very critical component of our app, but it is of less importance to the user. The user does not need to be kept waiting while the analytics process is running. We just need to save the user in the database and send back the profile. The rest of the work can be done at a later time.
One way of doing this is to setup a listener on the users' collection to watch for specific Cloud Firestore events.
// types of Cloud Firestore events

onCreate - Triggered when a document is written to for the first time
onUpdate -  Triggered when a document already exists and has any value changed.
onDelete - Triggered when a document with data is deleted.
onWrite - Triggered when onCreate, onUpdate or onDelete is triggered.
In our case, we want to listen on the users' collection for when a new user is created.
export const runAnalytics = functions.firestore
.document("users/{userId}")
.onCreate((snapshot, context) => {
//  run the code here.
});
The users/{userId} parameter specifies the document path, the {userId} part is a wildcard that makes it possible to watch the collection for any document.
If we wanted to watch for a specific document in the users collection, we need to specify the document's id in the document path, e.g users/nXkhjdrwhui.
Building on top of our previous setup, we'll add a new cloud function that sends us an email when a new user signs up.
For the purpose of this tutorial, we'll be using SendGrid as the email delivery service, feel free to use any SMTP provider. Navigate to SendGrid, signup and create your API key.
Install the @sendgrid/mail npm package.
npm install --save @sendgrid/mail
Create a new file utils.ts in functions/src folder.
// functions/src/utils.ts

import * as sgMail from "@sendgrid/mail";

export const sendEmail = async (mailData: sgMail.MailDataRequired) => {
  try {
    sgMail.setApiKey(<YOUR_SENDGRID_API_KEY>);

    await sgMail.send(mailData);
  } catch (error) {
    console.log("Failed to send email", error);
  }
};
In the index.ts, we need to define our new function.
 // functions/src/index.ts

import * as firebaseAdmin from "firebase-admin"; // import the firebase-admin sdk
import * as functions from "firebase-functions";
import * as express from "express";
import * as serviceAccount from "./serviceAccount.json";
import * as router from "./router";
import * as utils from "./utils";

// grant the firebase-admin sdk all administrative privileges to our project
firebaseAdmin.initializeApp({
  credential: firebaseAdmin.credential.cert({
    projectId: serviceAccount.project_id,
    clientEmail: serviceAccount.client_email,
    privateKey: serviceAccount.private_key,
  }),
});

// initialize the express framework
const app = express();

// tell express server to use the router
app.use(router.initialize());

//hookup our http function to respond with the express framework
export const api = functions.https.onRequest(app);

// Run this code when a user is created in our database.
export const NewUserSignup = functions.firestore
  .document("users/{userId}")
  .onCreate(async (snapshot, context) => {
    const user = snapshot.data(); // this returns the document that was created

    await utils.sendEmail({
      subject: "New user signup",
      from: "logs@learncloudfunctions.com", // feel free to name this as you like
      to: "<your_personal_email>",
      text: `
      A new user with the following details just signed up \n\n

      ${JSON.stringify(user, undefined, 3)}

      \n\n
      `,
    });
  });
Use the npm run deploy command to deploy the function.
Note: Using the
npm run deploymakes the firebase cli tool deploy all the functions defined in ourindex.tsfile. To deploy a specific function, usefirebase deploy --only functions:<function_name>command.
Navigate to the project's dashboard on the Firebase console.

You should see the function you just deployed on the dashboard alongside other functions in your project.
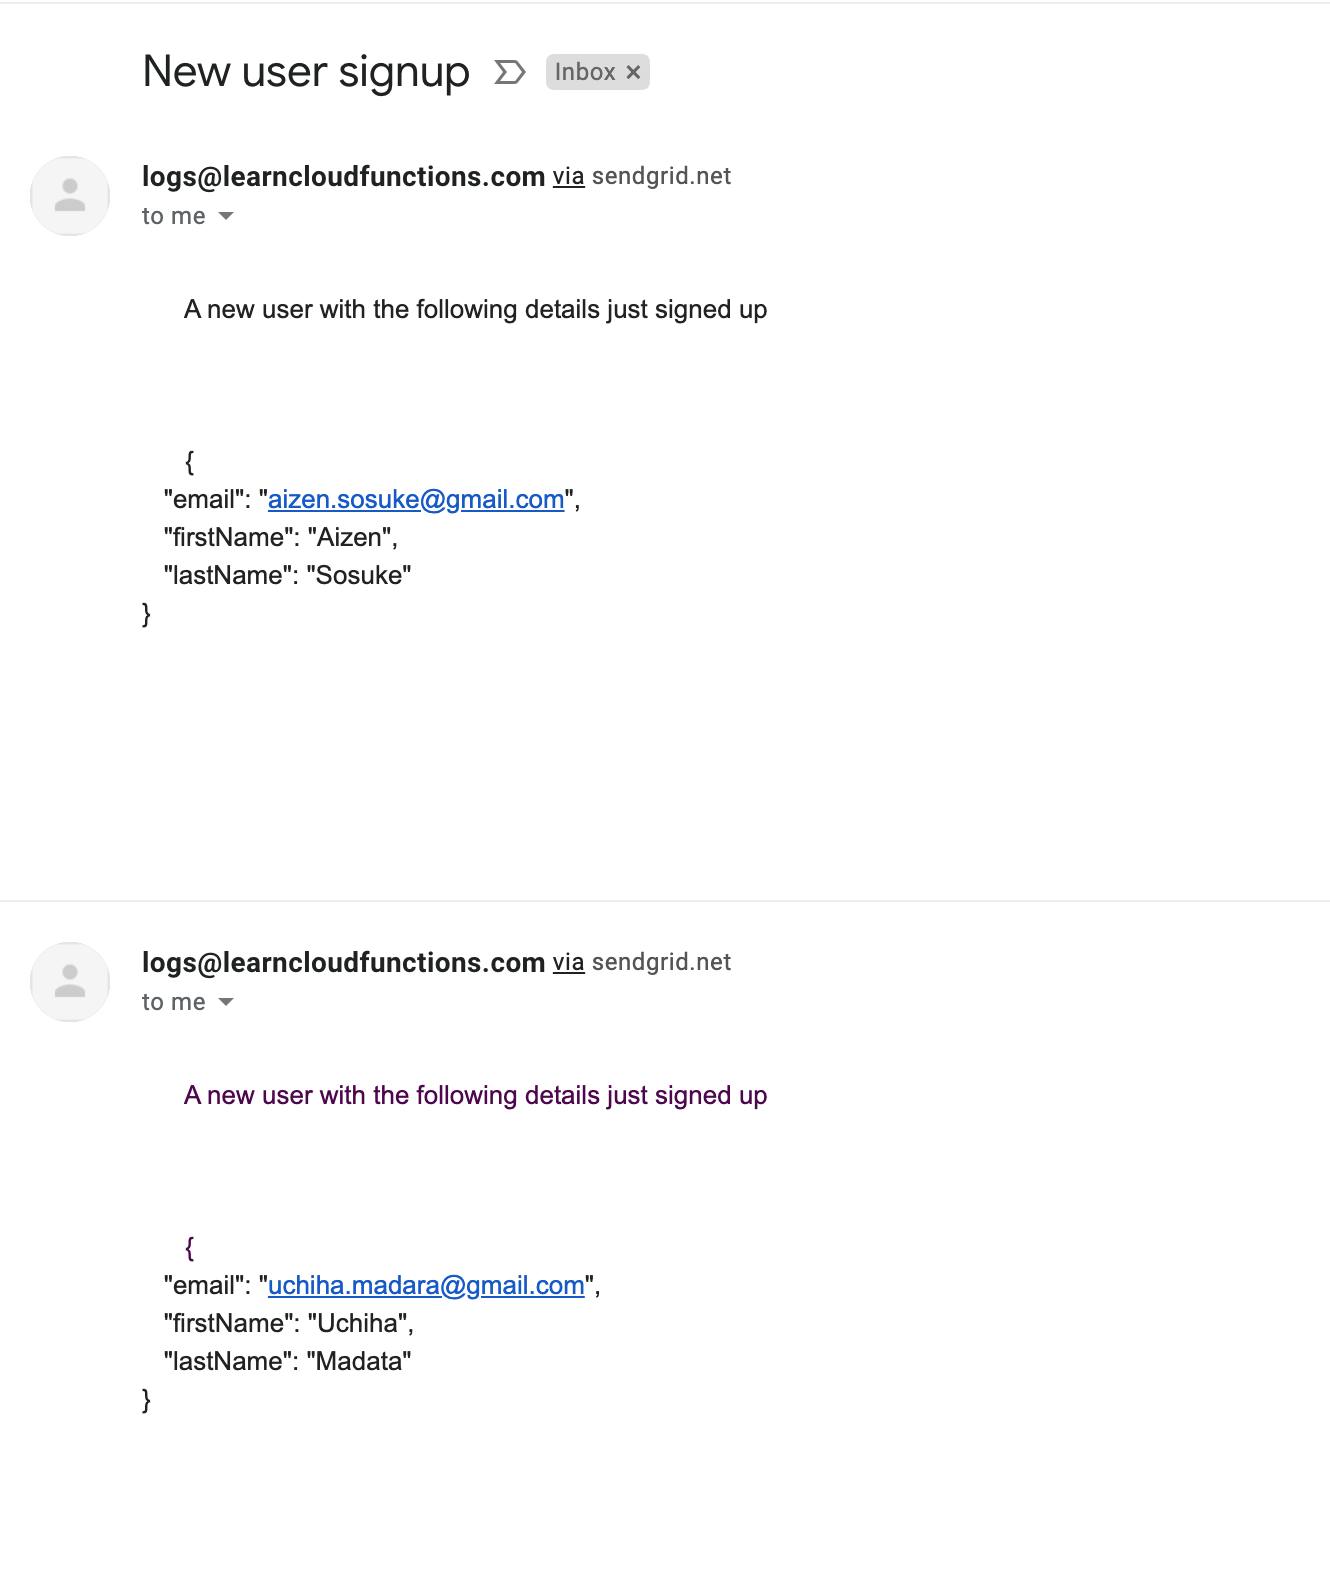
To test the NewUserSignup cloud function, we can create a new user via the Postman API development tool we used in the last section. After the user is created, you should receive the email within a minute. If you don't, navigate to the logs tab. The logs tab shows the output from the function execution, so you can always see what went wrong.
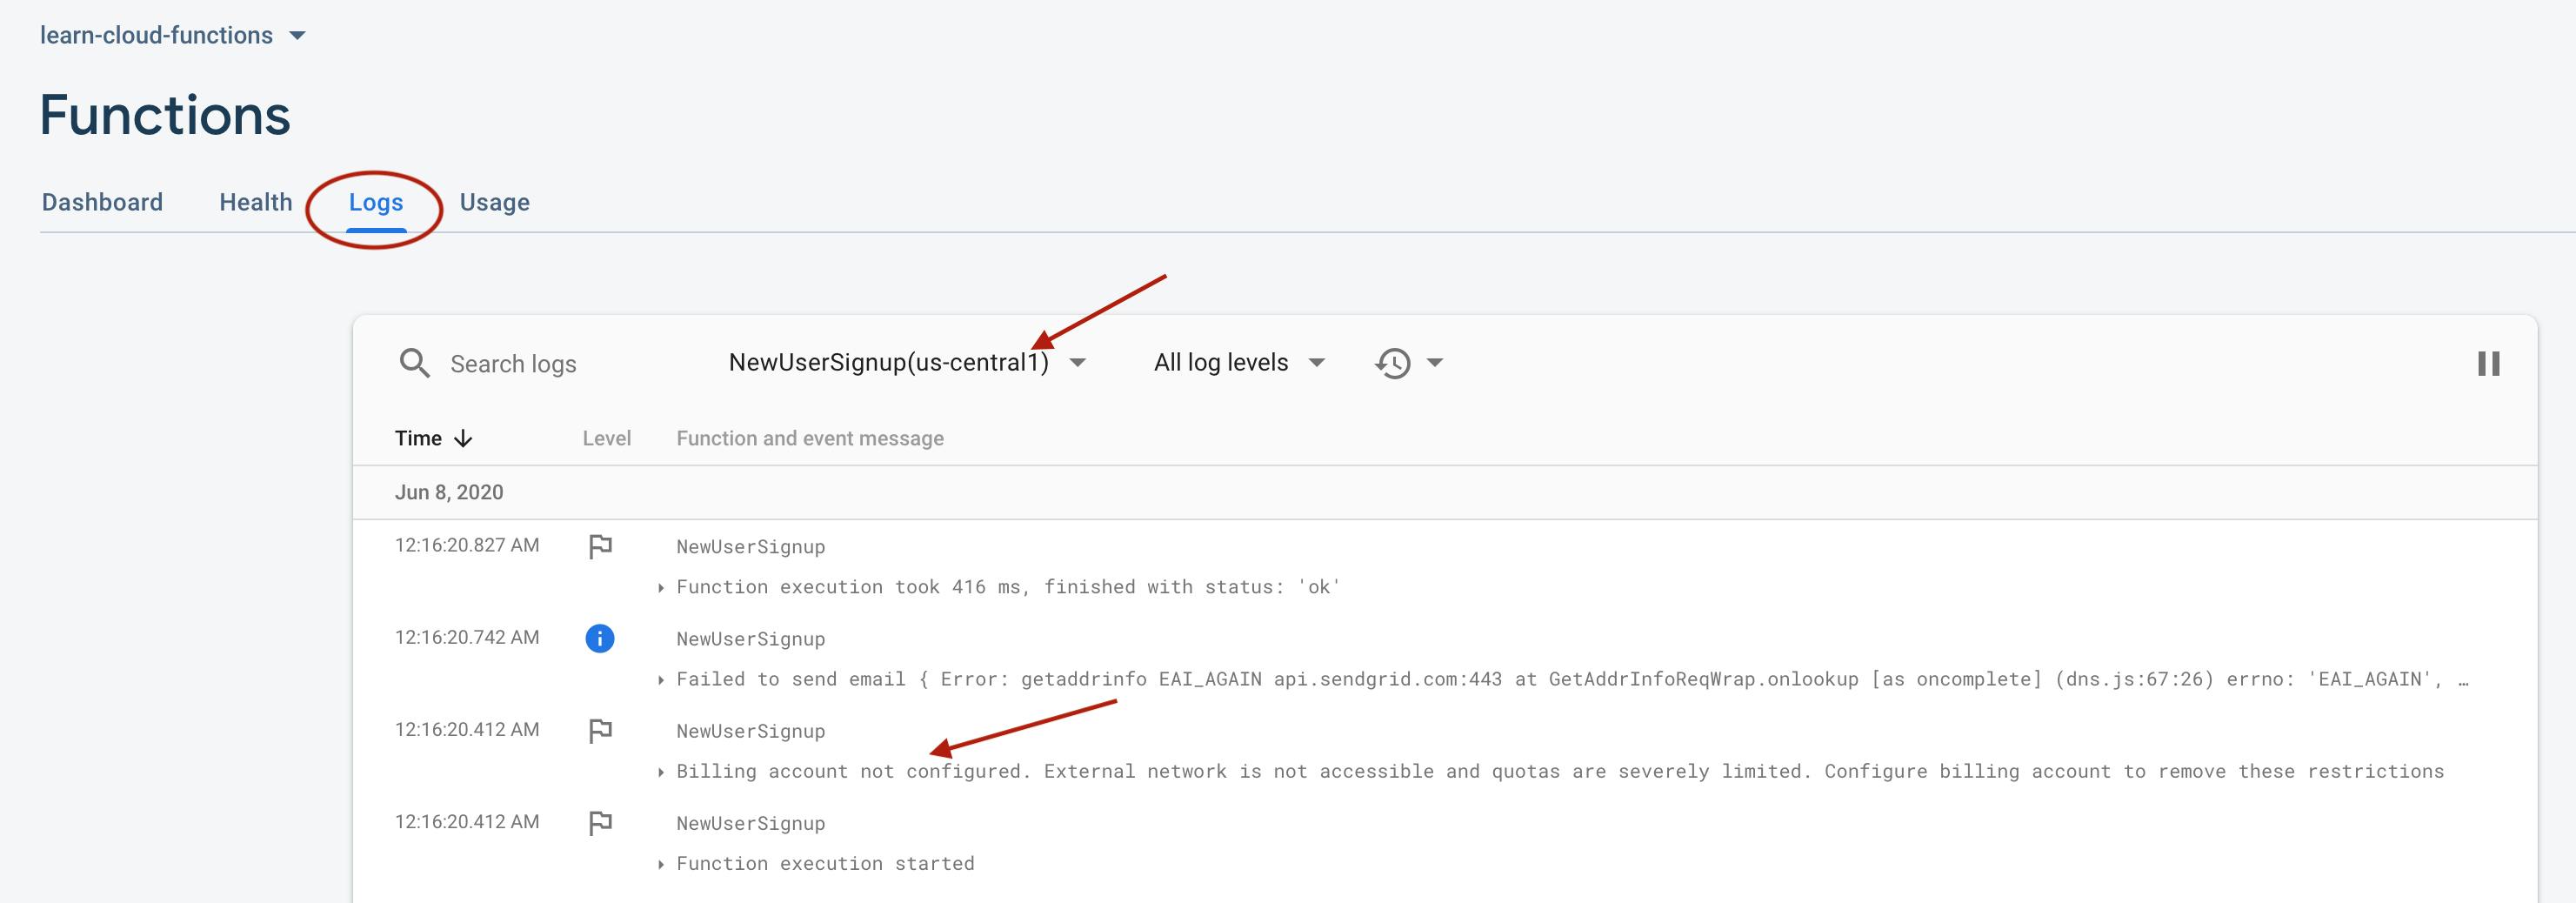
Use the dropdown to select the function that you want to view the logs for. If you see the below error message
<Function_name>: Billing account not configured. External network is not accessible and quotas are severely limited. Configure billing account to remove these restrictions
To call external APIs in Cloud Functions, you need to setup a billing account.
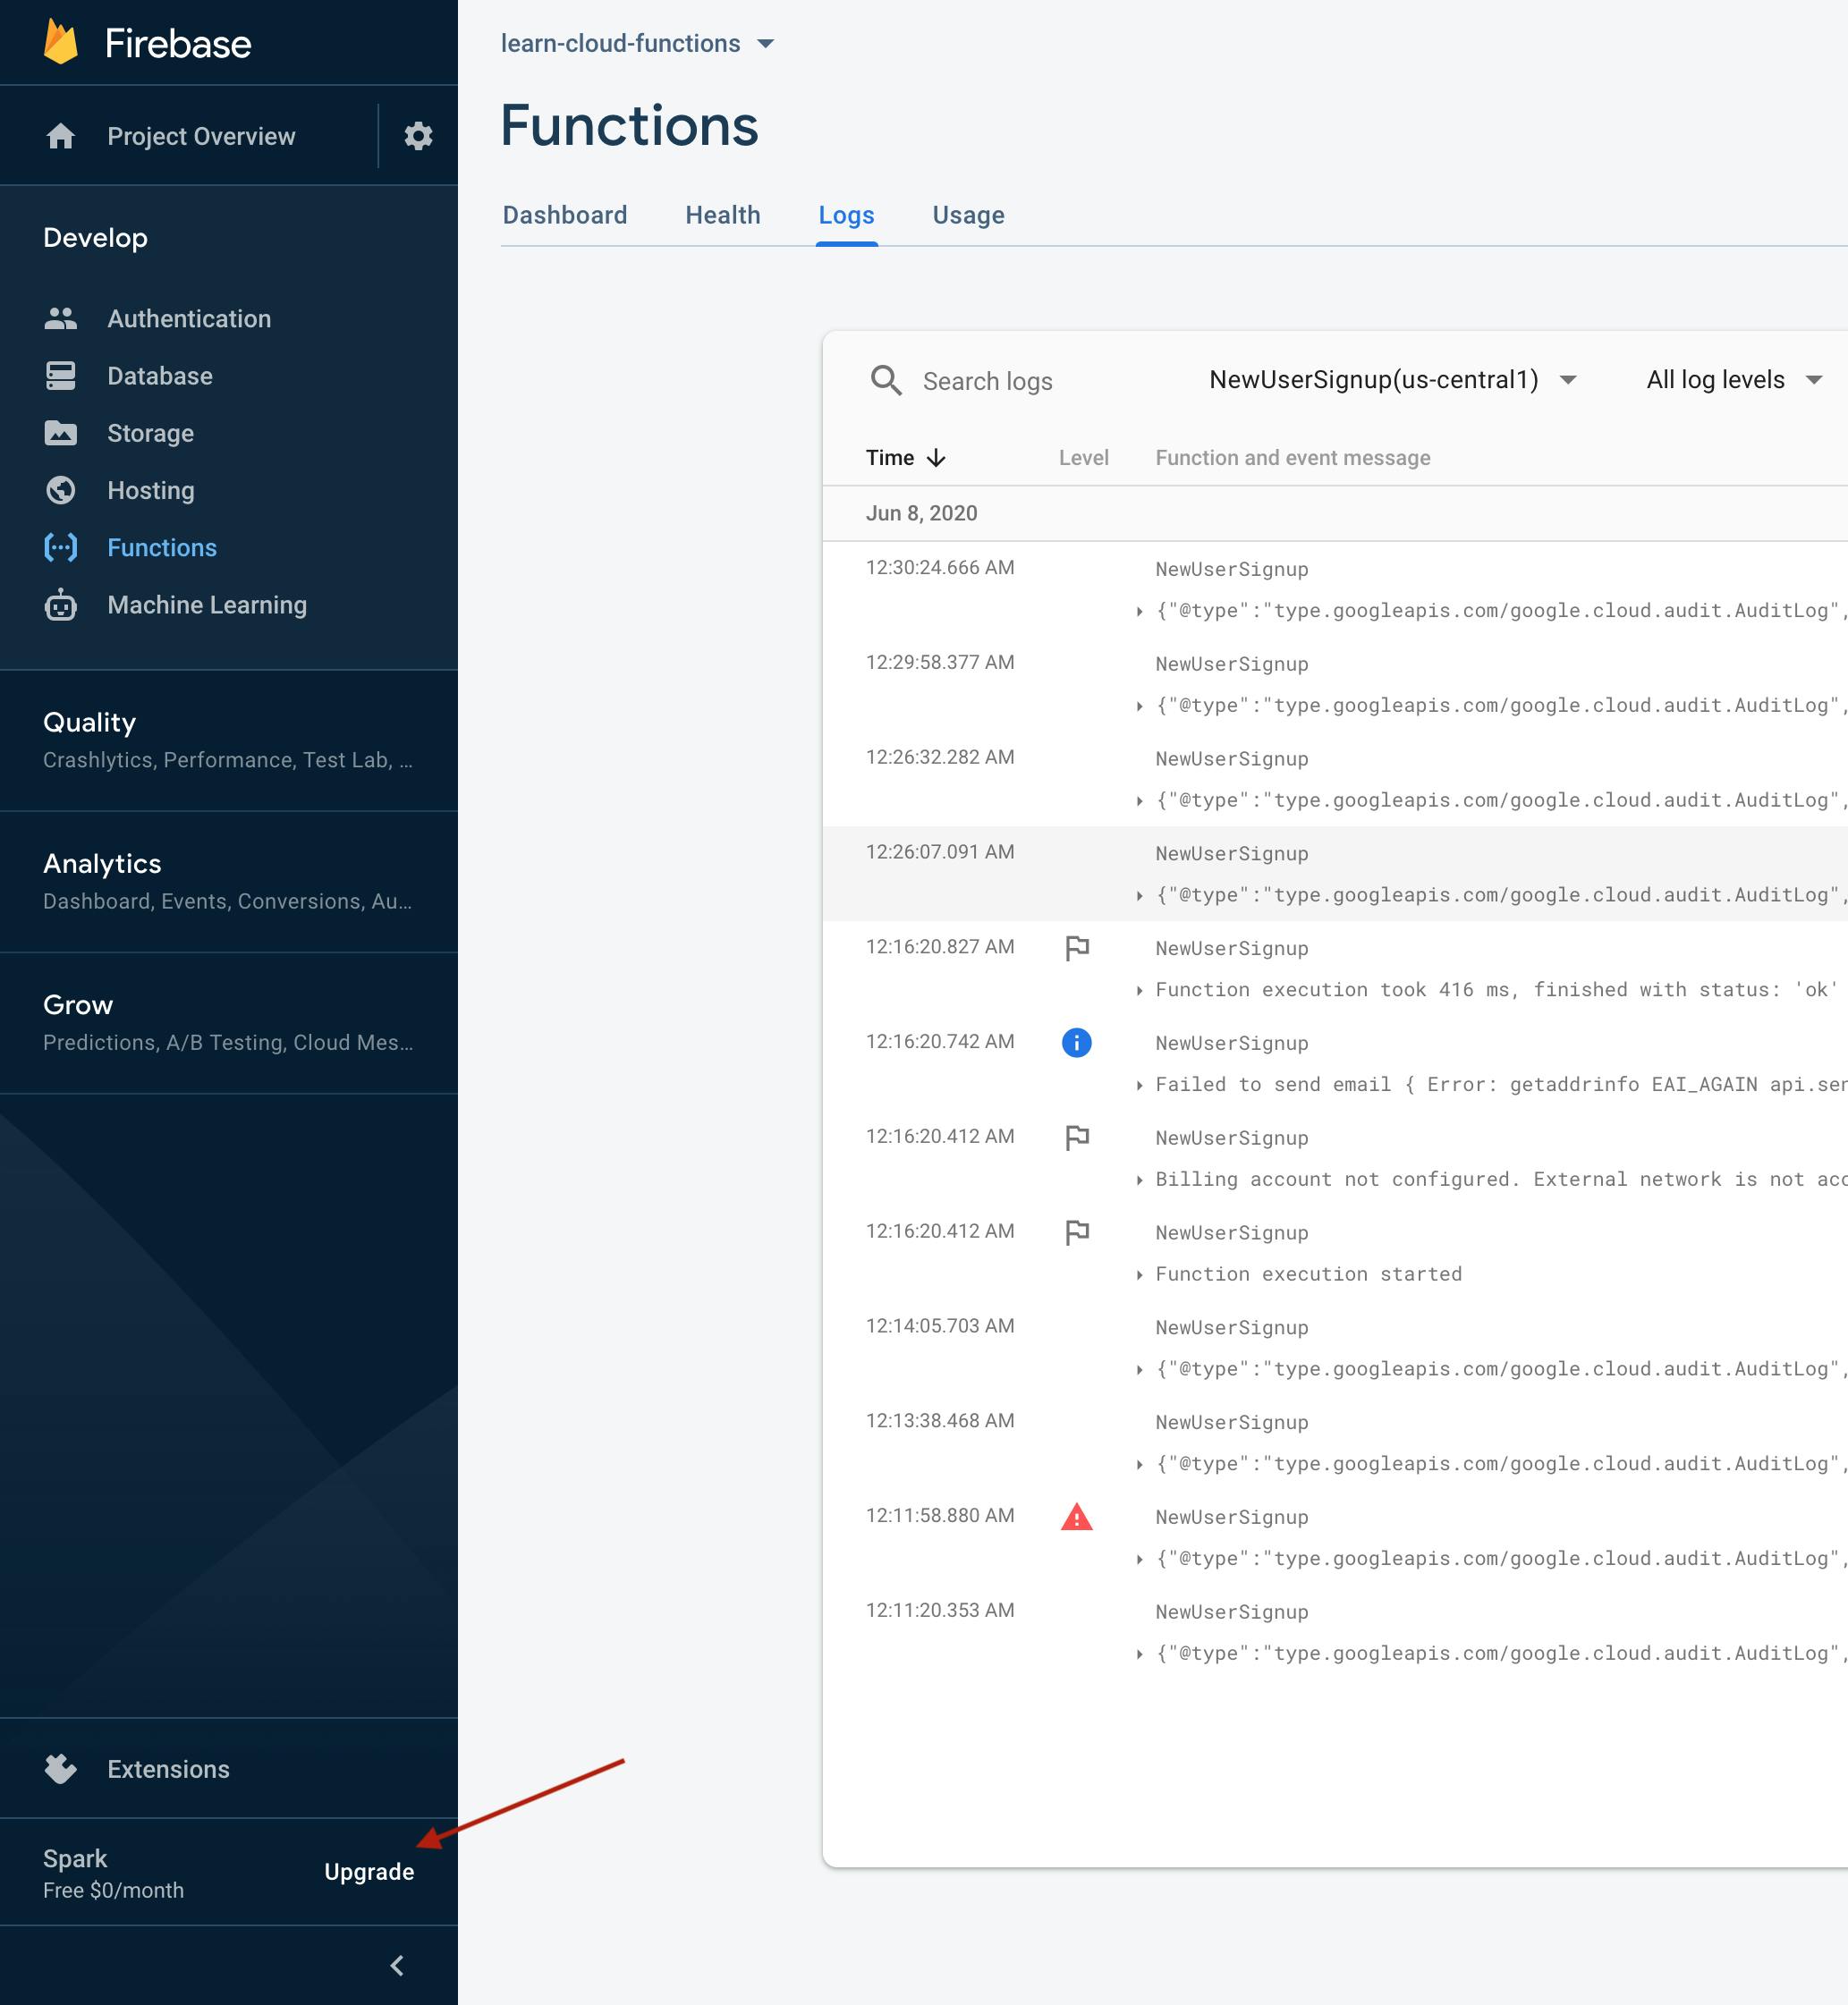
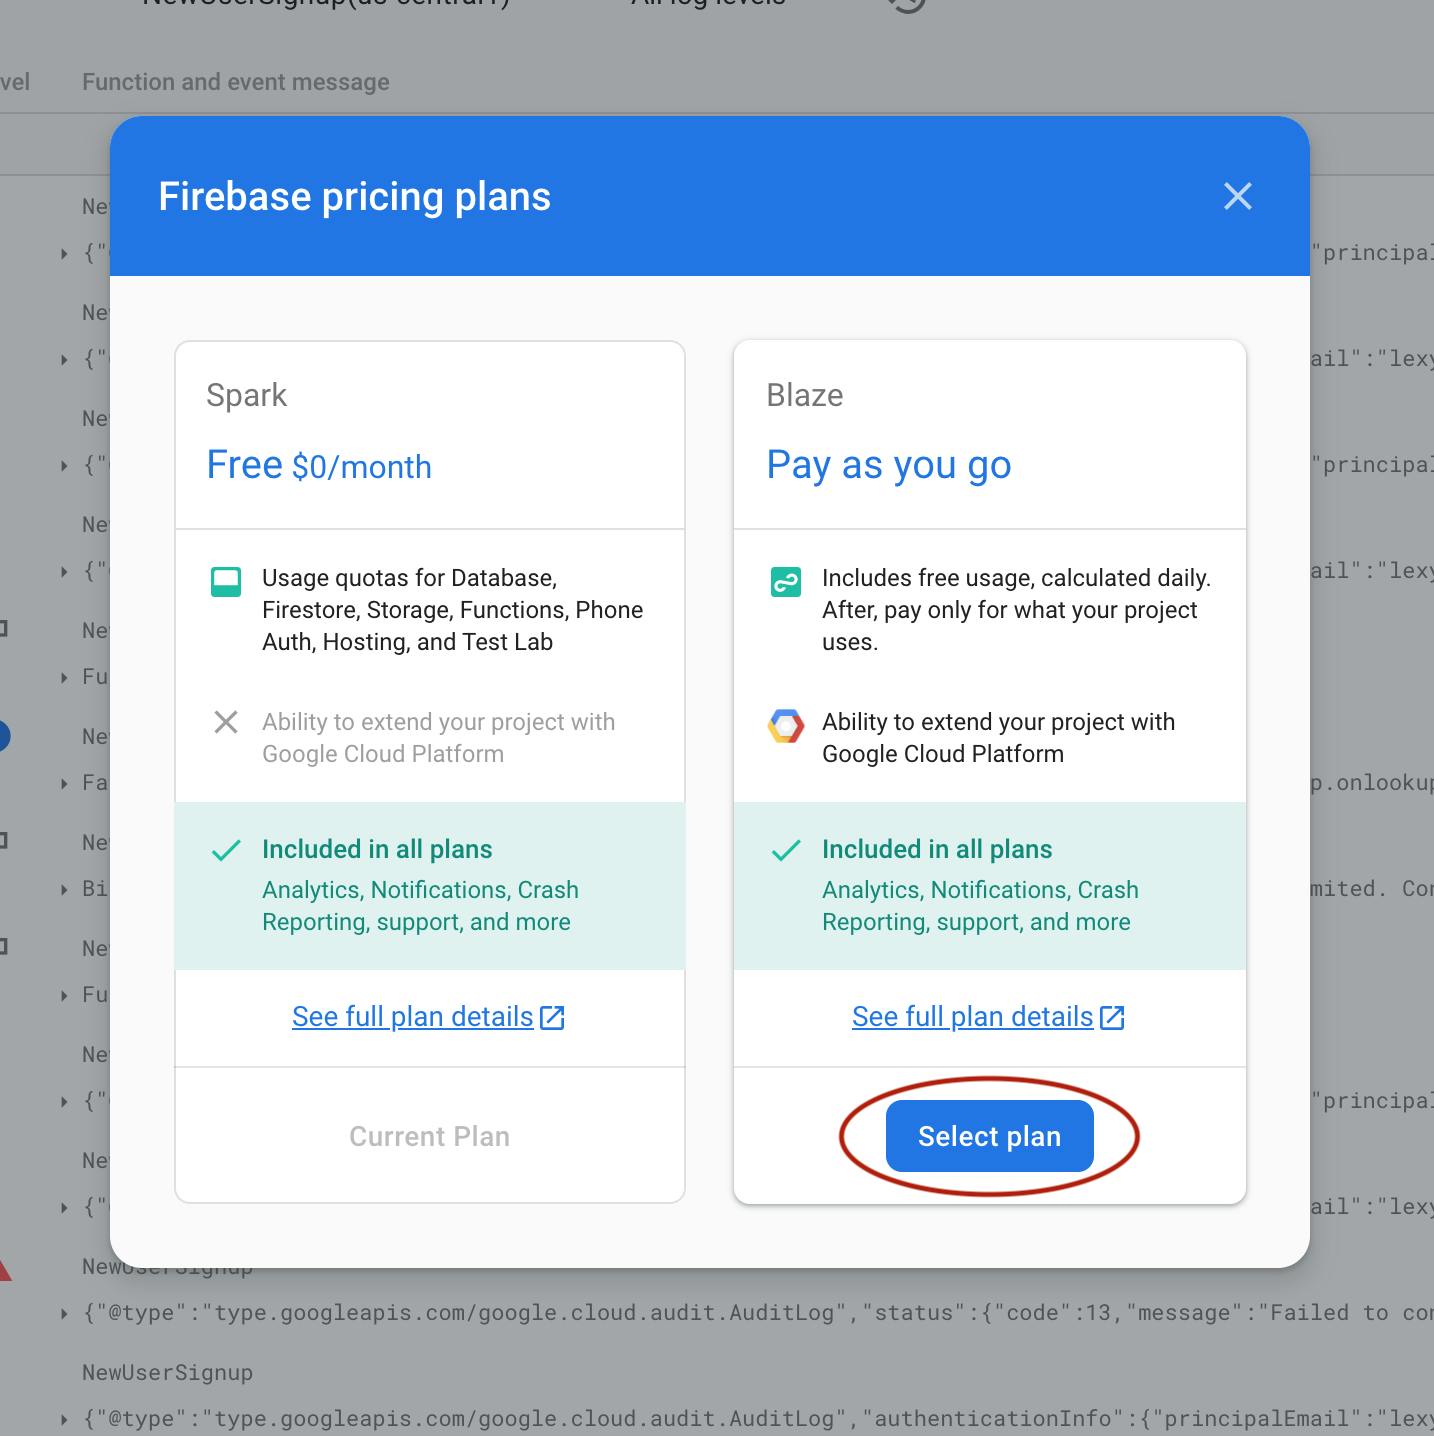
Note: Since your application is intended for development/learning purposes, you're very unlikely to be billed because your usage is still very minimal. You should also setup budget alerts of about 2USD so Google can notify you before you bills reaches that point($2).
When this is done, test again by creating another user, This should work as expected.
Cloud functions for database triggers are not limited to API calls alone, you can interface with existing Google Cloud services, you can trigger events to call another Cloud function. You can get creative as much you like, the ball is in your court.
Check out the docs to see how to use other firestore events such onUpdate, onDelete and onWrite.
This is the link to the source code on Github. The linked source code reflects the state of the repository as at this point in the series.
In Part 4, we'll be exploring how to run functions on a schedule also known as CRON.
If you have any question or comment, please let me know in the comments section.
